Linux provides the capability for multiple virtual consoles to allow for multiple logins from a single keyboard and monitor. Red Hat Linux, CentOS and Fedora Linux have typically provided for 7 virtual consoles for text mode logins. If a graphical interface were used, it was assigned as virtual console 7, or vc7. In this case vc1 through vc6 would be text mode sessions and vc7 would be the graphical session.
Each virtual console is assigned to a Function Key corresponding to the console number. So vc1 would be assigned to function key F1, and so on. It is easy to switch to and from these sessions. On your computer you can hold down the Ctrl and Alt keys and press F2 to switch to vc2. Then hold down the Ctrl and Alt keys and press F1 to switch to vc and the graphical interface.
Starting with Fedora 11 the first Virtual console, vc1, becomes the first graphical (GUI) session after X starts. and vc7 becomes the second GUI session. I am not sure why this has changed.
Virtual consoles provide a means to access multiple consoles using a single physical system console, the Keyboard, Video display and Mouse (KVM). This gives administrators more flexibility to perform system maintenance and problem solving. There are some other means for additional flexibility, but Virtual Consoles is always available if you have physical access to the system or directly attached KVM device or some logical KVM extension such as ILO. Other means such as the screen command might not be available in some environments and a GUI will probably not be available on most servers.
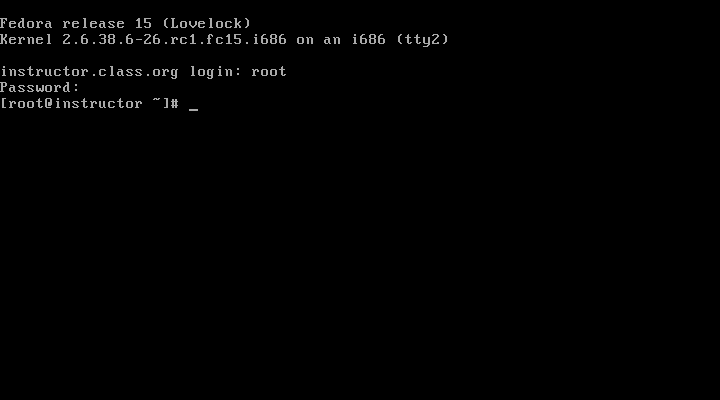
Illustration 1: Enter “root” and the root password to login.
Text mode console sessions is where you will do most of your work as a system administrator. This is what your system will look like if you do not have a GUI or if you choose not to use a GUI.
You can use the mini lab project below to explore virtual consoles. It assumes you have a non-root user with an ID of “student”. If not, any other non-root use ID will work if you have the password for it.
- Press Ctrl-Alt-F2 to access virtual console 2.
- Type root on the Login line and press the Enter key.
- Type in the root password and press Enter again. You should now be logged in and at a command prompt.
- Use Ctrl-Alt-F3 to change to console session three (3). Login on this console as student.
- Note that any user, in this case student, can be logged in multiple times. You should be logged in as student both in the GUI desktop and here in virtual console 3.
- Note the $ symbol prompt which denotes the prompt for a non-root (non-priviledged) user.
- Run the ls -la command. Notice the configuration files, .bash_profile, .bash_logout and .bashrc.
Use the clear command to clear the console screen. - The reset command resets all console settings. This is useful if the console becomes unusable or unreadable, such as after cat’ing a binary file.
- Type w to list currently logged in users and uptime. You should see at least three logins; one for root on tty2 and one for student on tty3 and one for student on tty7, which is the GUI console session.
- Enter the who command. It provides similar, slightly different information than w.
- Type whoami to display your current login name.
- Type the id command to display your real and effective ID and GID. It also shows a list of the groups to which your user id belongs.
- Type the exit command to logoff.
- Switch back to console session 2.
- Use the whoami and id commands the same as in the other console session.